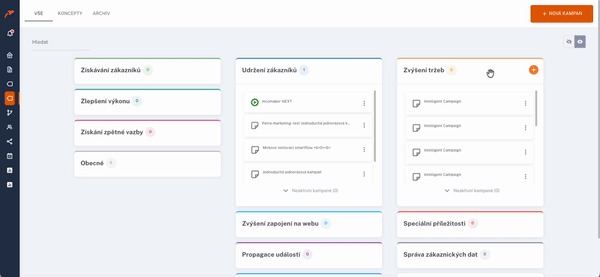
This guide will walk you through the new Incomaker NEXT interface and explain how to work with SmartFlow step by step.
First, we’ll show you how to get into SmartFlow.
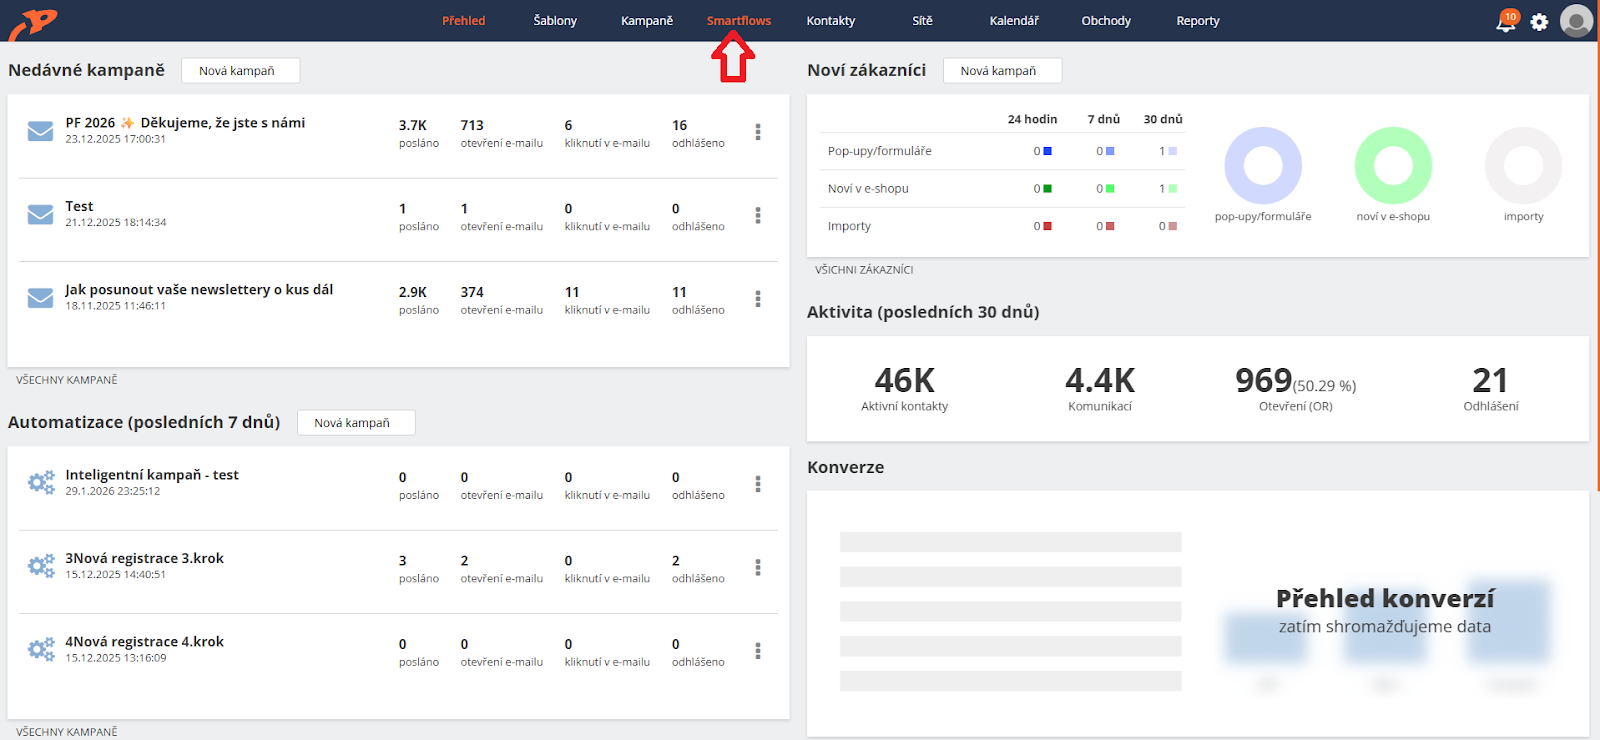
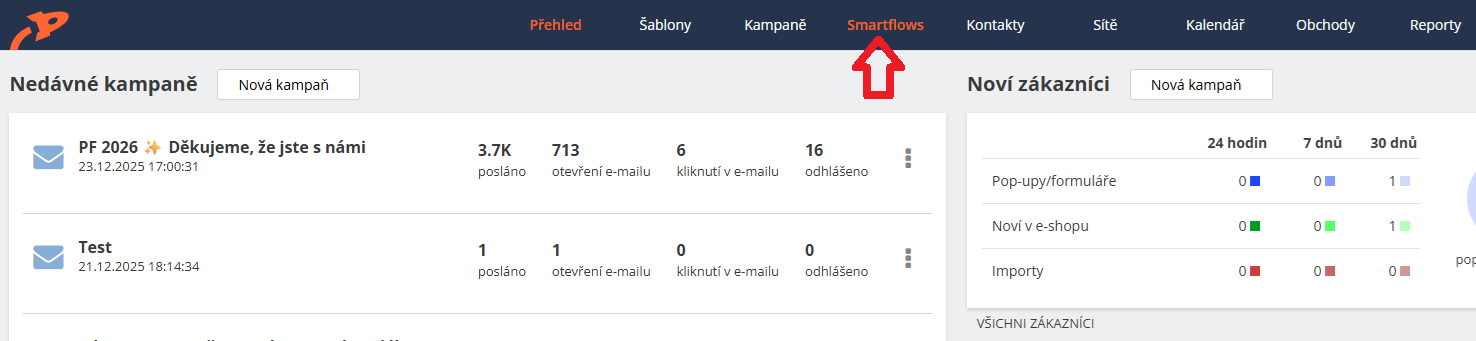
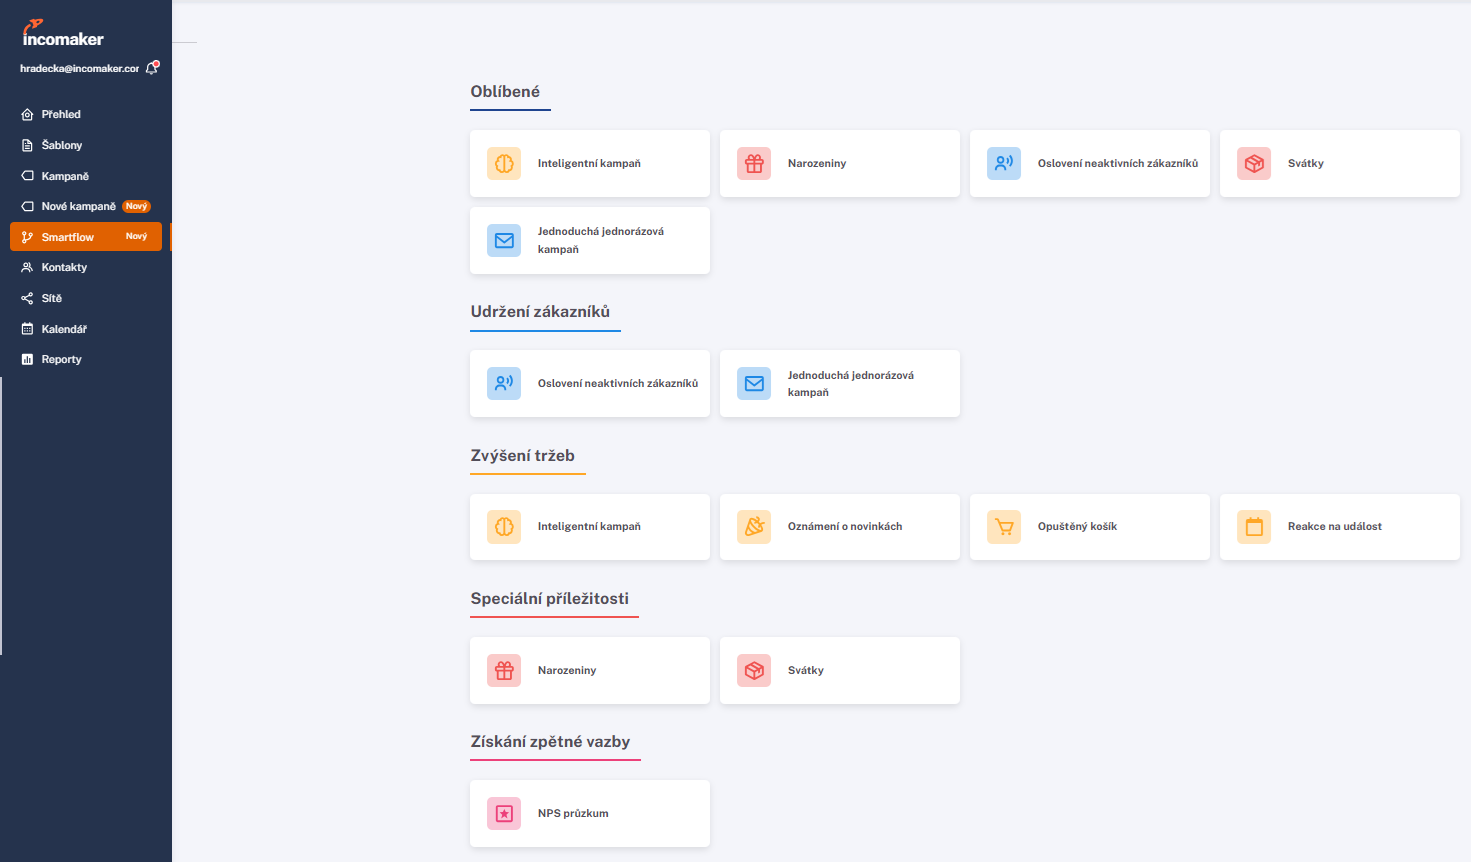
1. Welcome to SmartFlow
Think of SmartFlow as a smart construction set that handles routine tasks for you. You don’t need to program anything — you just put a few basic pieces together.
SmartFlow always answers three basic questions:
-
✔️ What starts it? (Trigger) — for example, a specific date and time, when someone abandons their cart, or when it’s someone’s name day,
-
✔️ Where should it go? (Target) — selected contacts from lists, based on filters, or according to how the communication branches,
-
✔️ What should happen? (Action) — for example, SmartFlow sends an email or an SMS, or updates a contact’s data.
2. You Don’t Have to Start from Scratch
Even though you can build everything entirely your own way, the easiest approach is to start with our ready-made templates. They’re finished “recipes” for the most common situations, which you just tweak slightly so they fit your needs exactly.
-
✔️ templates speed up your start,
-
✔️ they help you keep a proven structure,
-
✔️ you can add your own branches and steps to them at any time.
3. Work Without Worry
There’s nothing complicated to confirm, and no need to fear a power outage.
-
✔️ SmartFlow instantly remembers and automatically saves every step you take,
-
✔️ you can step away at any time and return to your work exactly where you left off,
-
✔️ everything is saved to drafts, which you’ll find under your campaigns.
4. Start Here
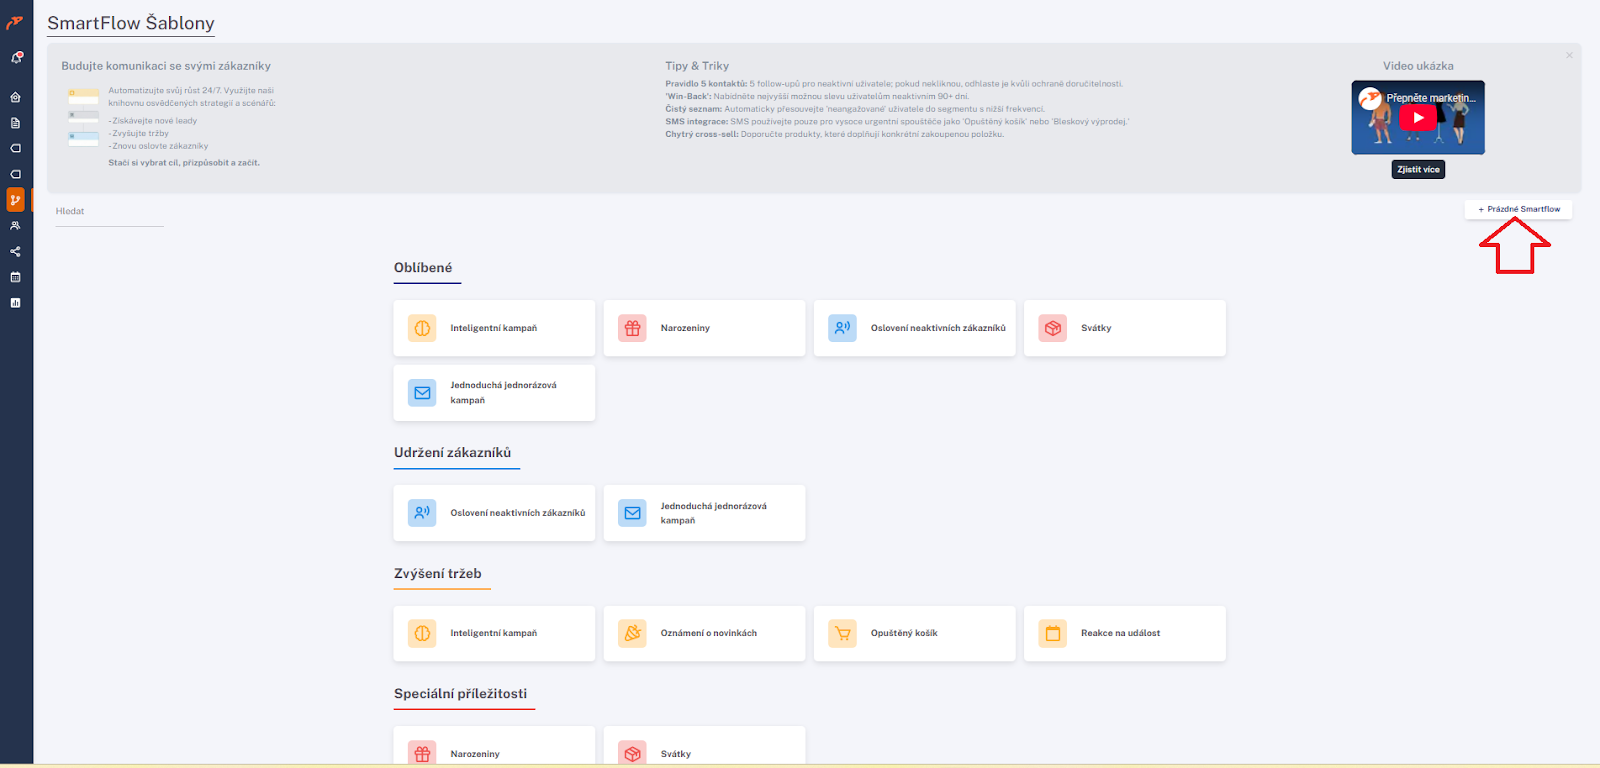
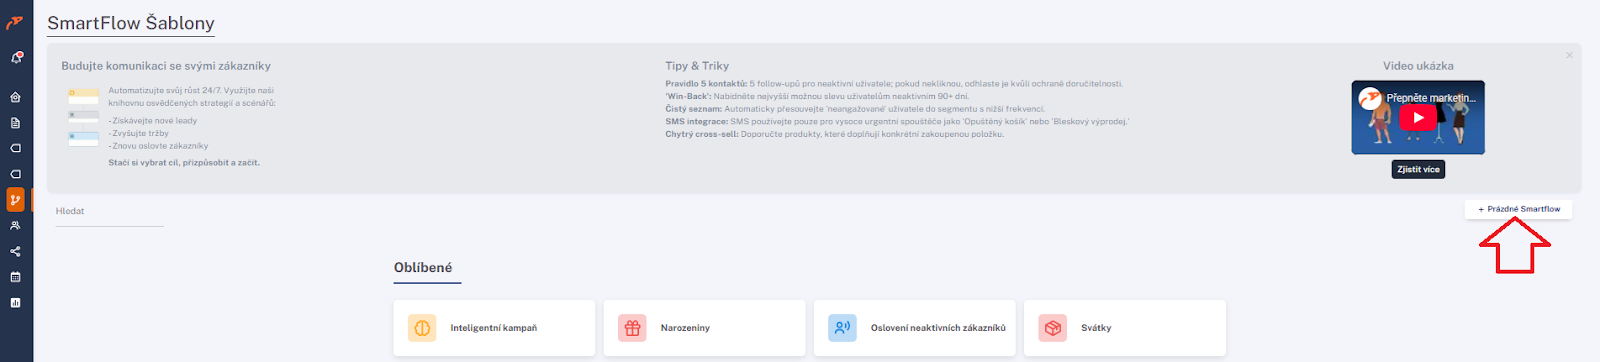
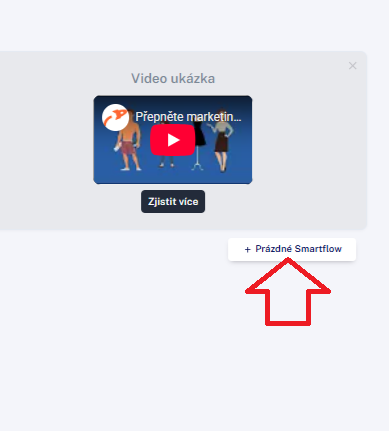
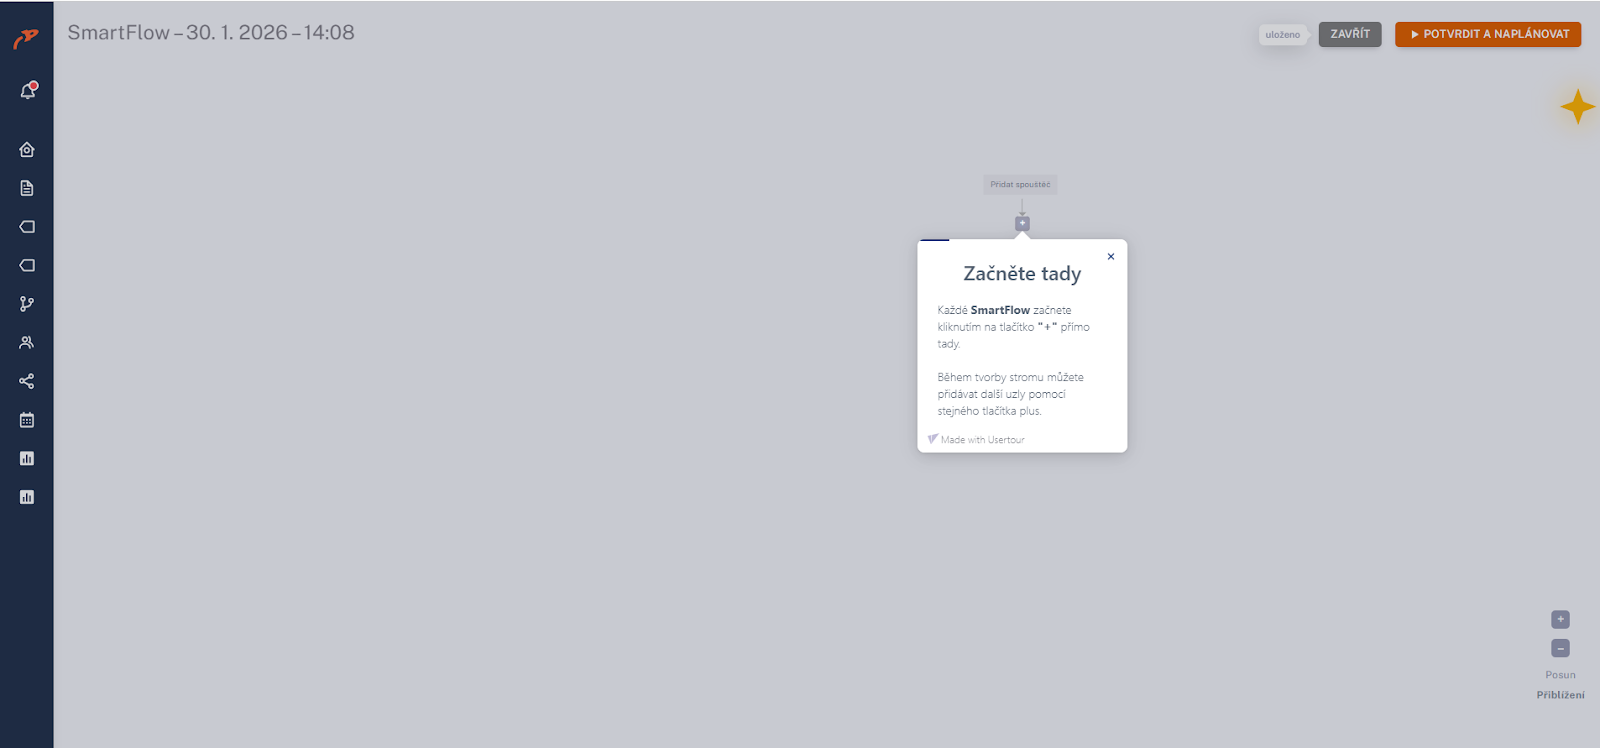
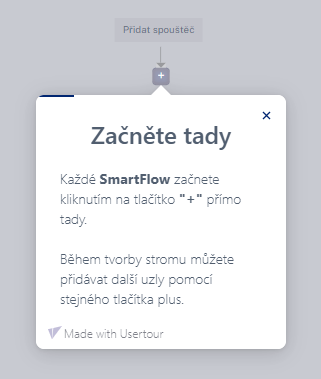
You begin every SmartFlow by clicking the “+” button right in the editor.
✔️ the first click creates a new flow,
✔️ as you build the tree, you can add more nodes using the same “+” button,
✔️ the entire campaign tree comes together gradually before your eyes.
5. Choose a Trigger
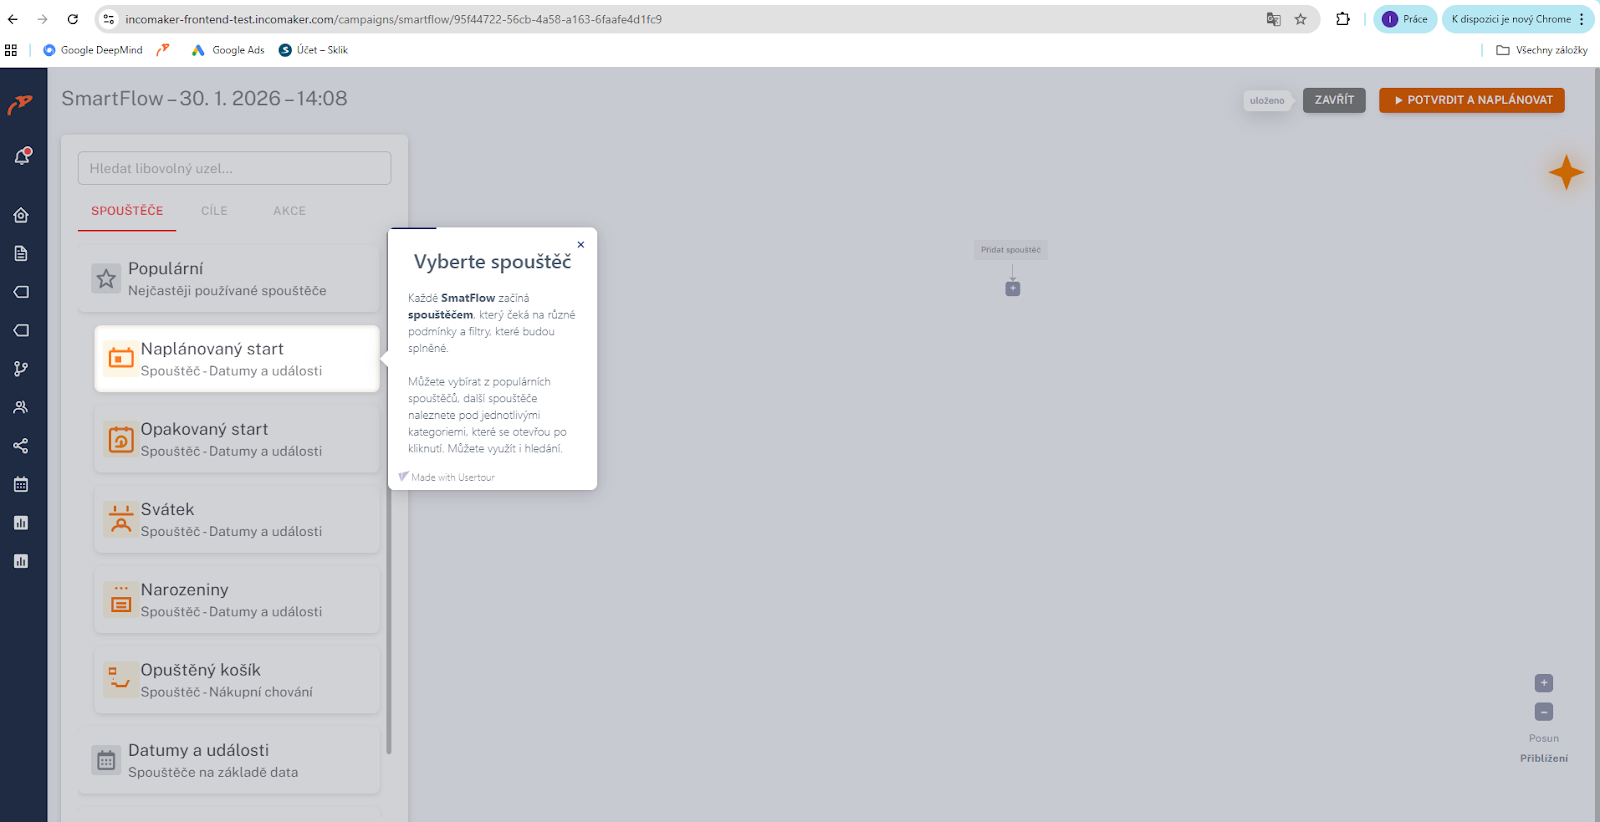
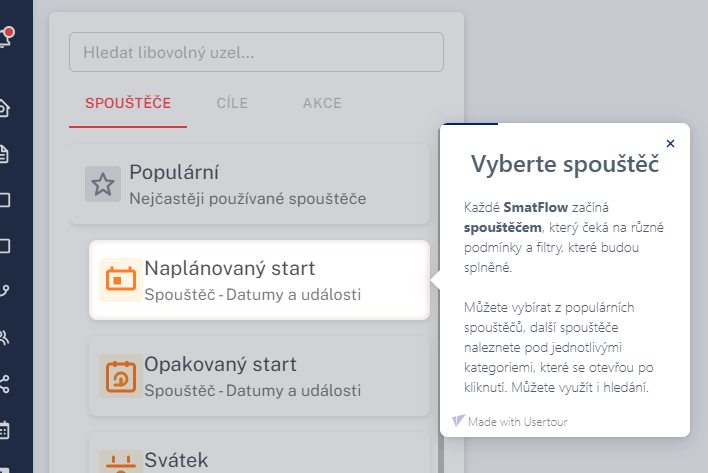
Every SmartFlow begins with a trigger that waits for the conditions and filters that must be met.
✔️ you can choose from popular triggers,
✔️ you’ll find more triggers in the categories that open when you click,
✔️ you can also use the search function.
6. The Main Starting Trigger
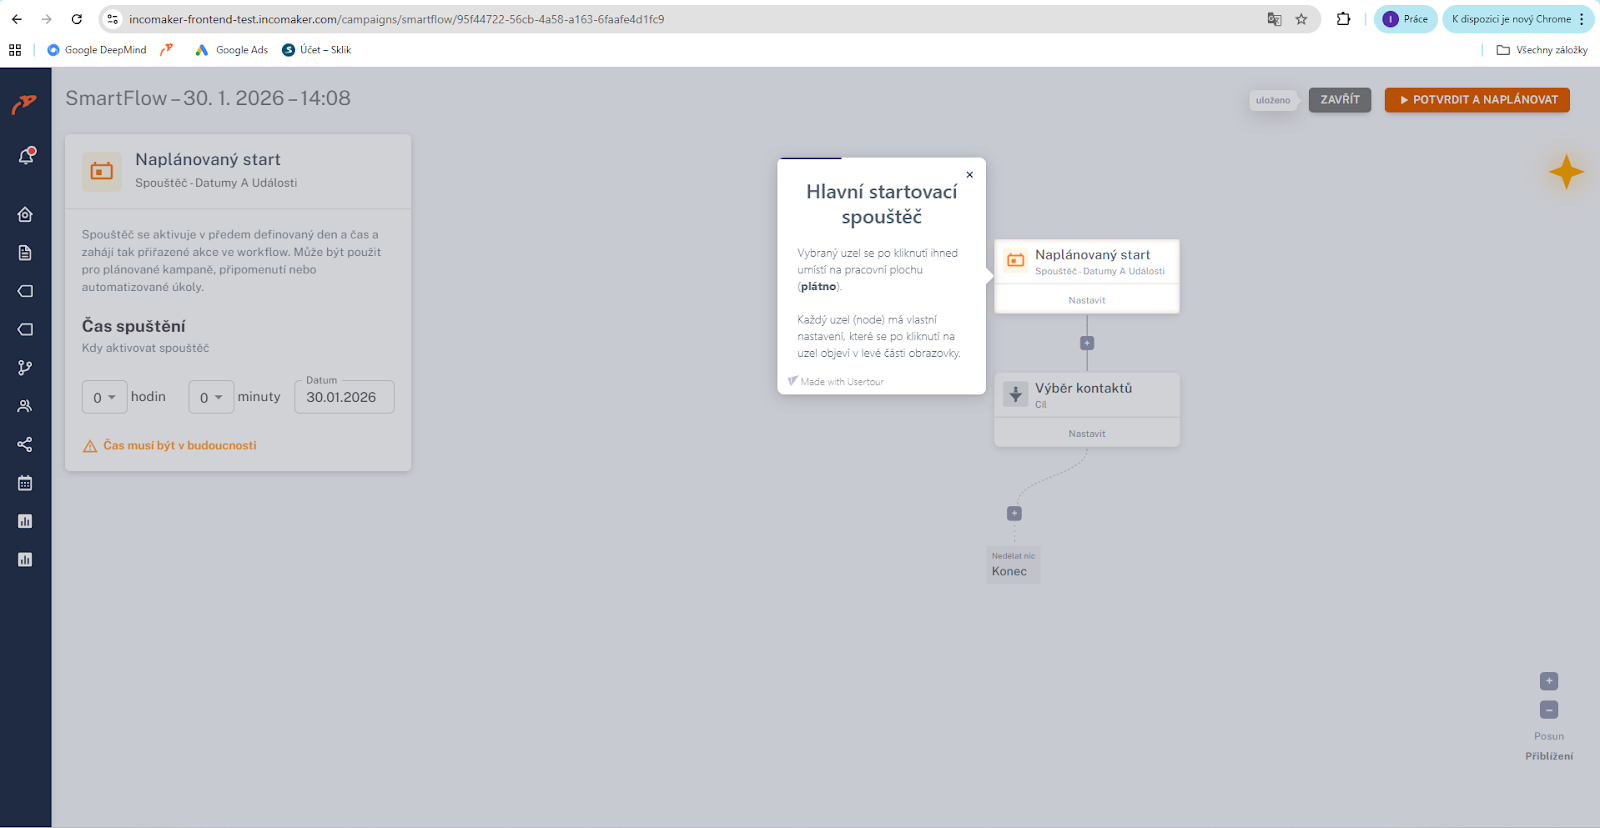
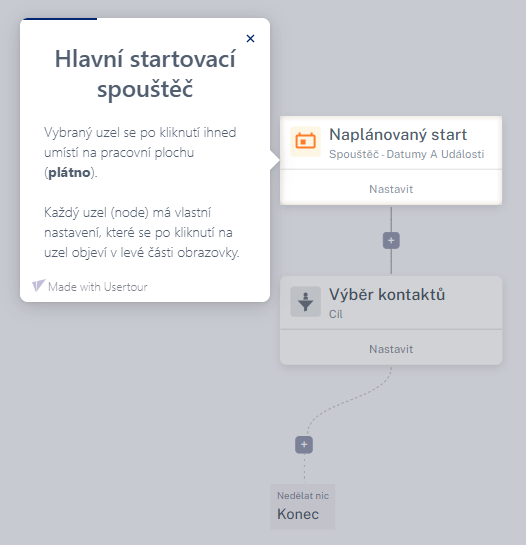
Once clicked, the selected node is immediately placed on the workspace (the canvas).
✔️ each node has its own settings,
✔️ the settings appear on the left side of the screen when you click a node,
✔️ changes are saved automatically.
Settings for Each Node
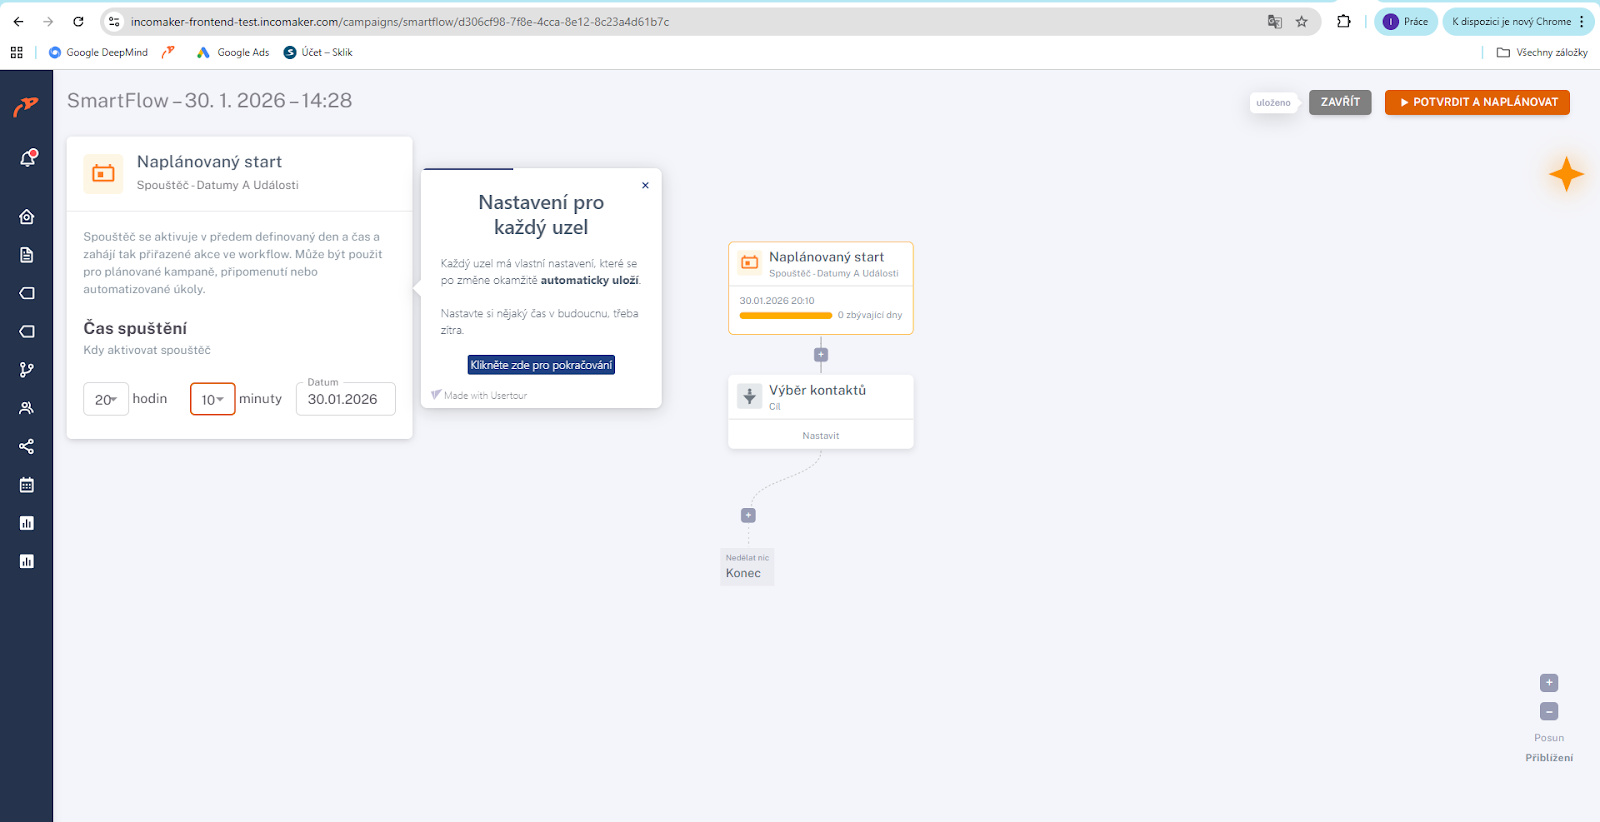
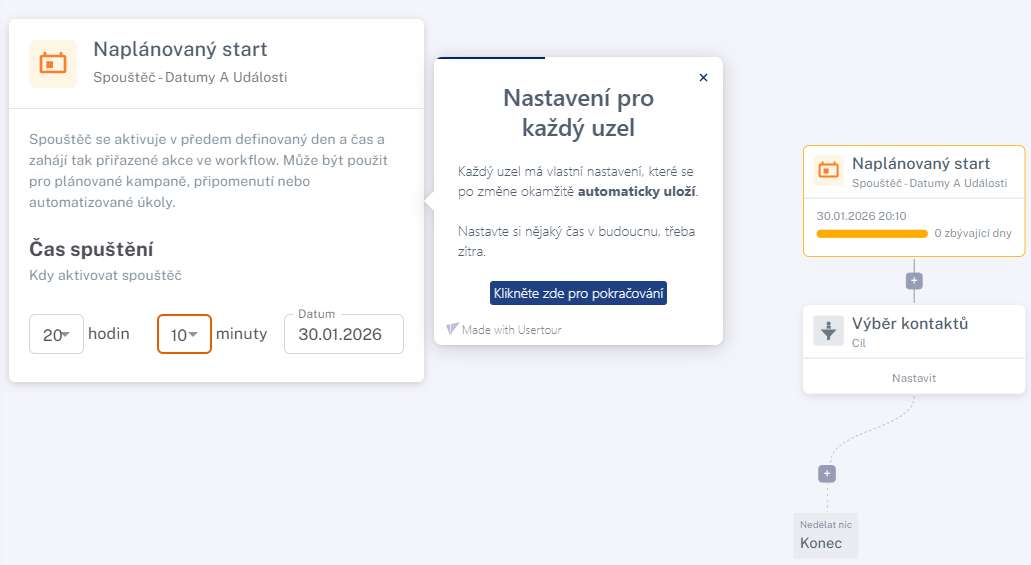
Each node has its own settings, which are automatically saved the moment you change them. For your first try, set something like a time in the future — tomorrow, for example.
7. Select the Starting Contacts
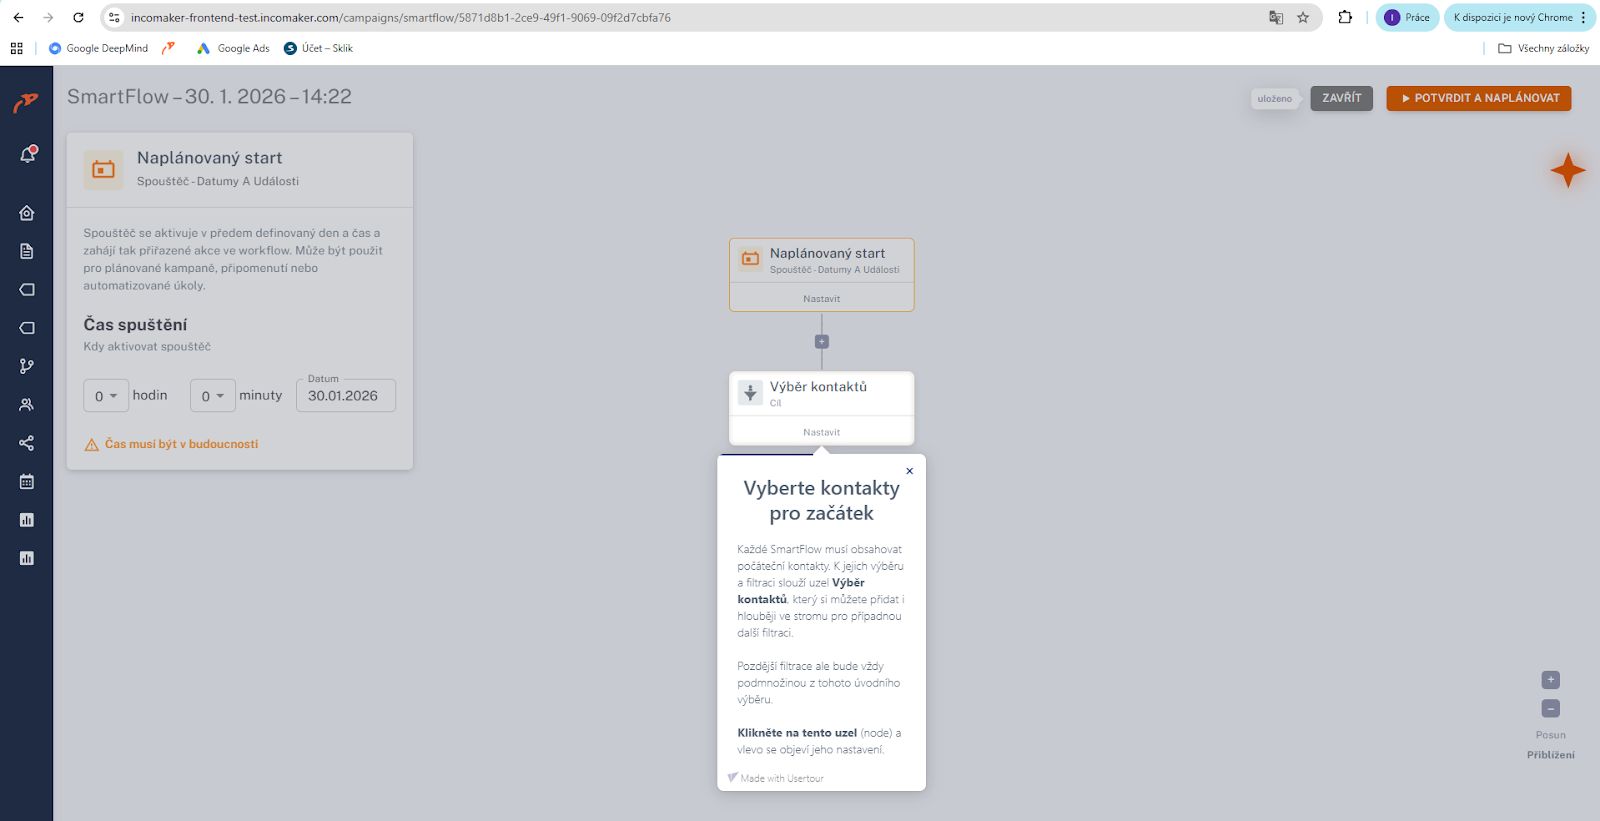
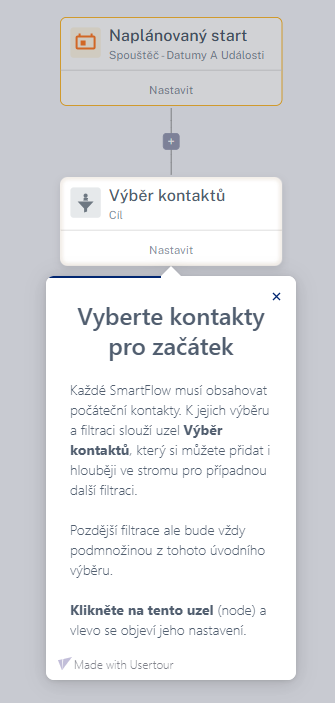
Every SmartFlow must contain a set of starting contacts. The Contact Selection node is used to select and filter them, and you can also add it deeper in the tree for any further filtering. Later filtering will always be a subset of the initial selection:
✔️ click a node and its settings will appear on the left.
8. Contact Settings
On the settings panel of the Contact Selection node, you can adjust the selected contacts:
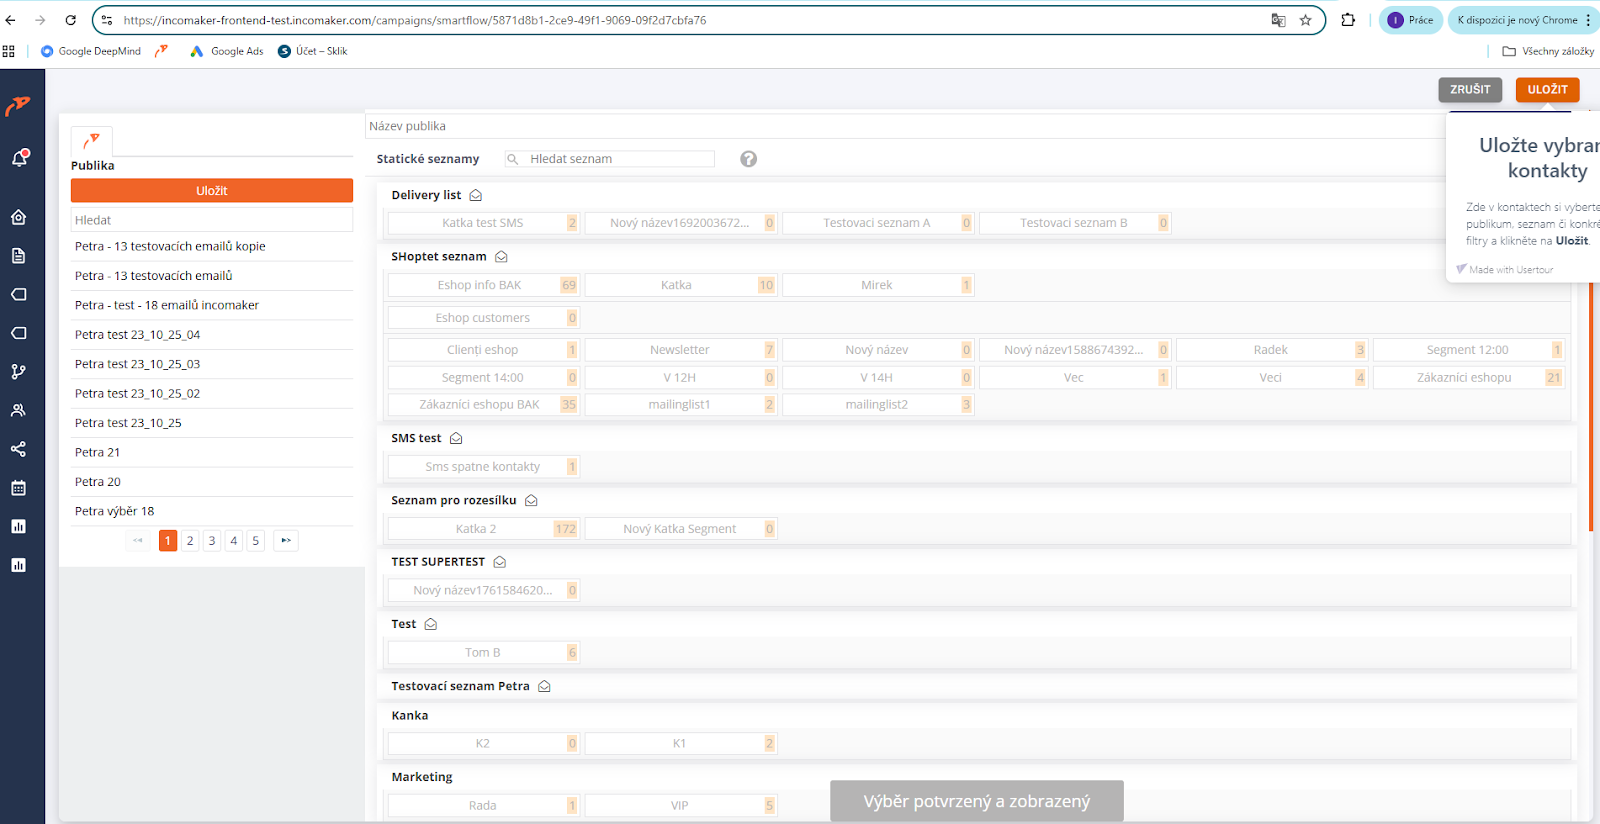
✔️ click the orange Edit button, which opens the standard contact selection and filtering in Incomaker,
✔️ select an audience, a list, or specific filters,
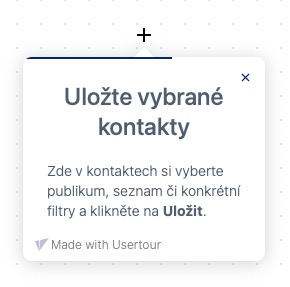
✔️ click Save in the top right corner.
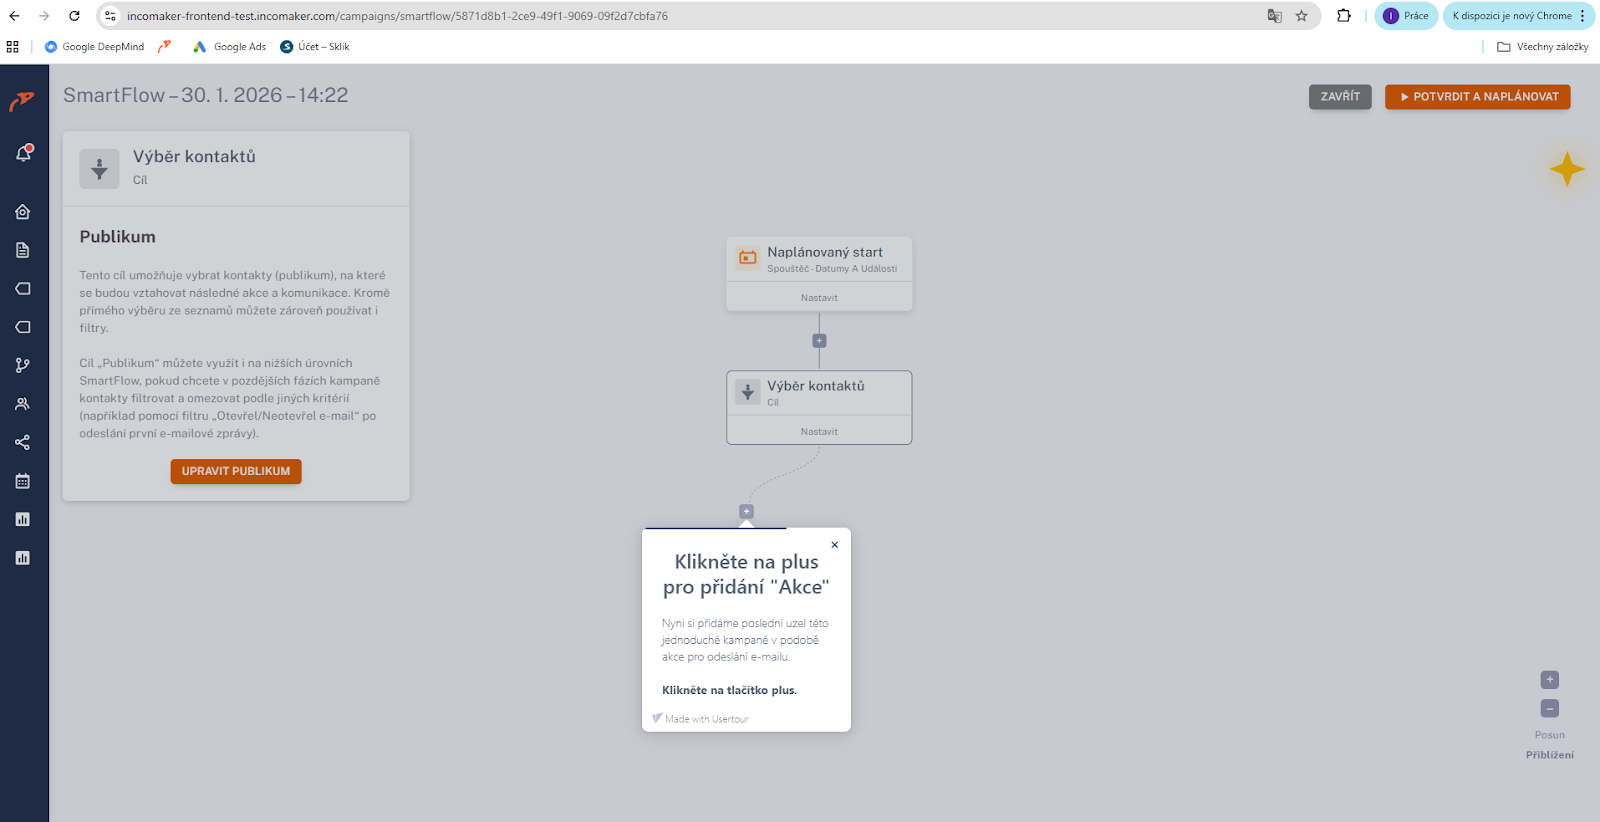
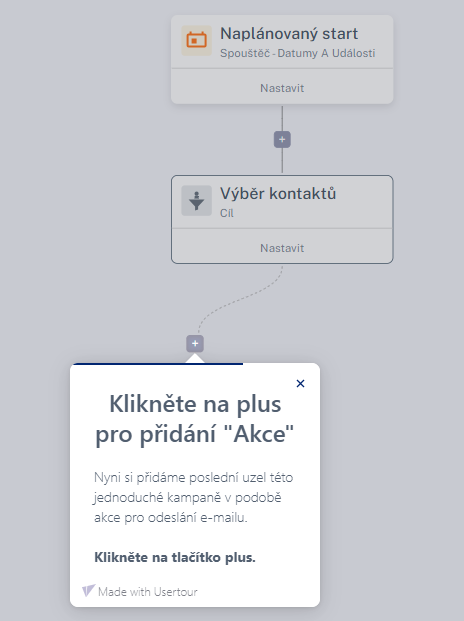
9. Click the Plus to Add an Action
Now you’ll add the final node of this simple campaign — an action to send an email.
✔️ click the “+” button,
✔️ select the action you want to perform in SmartFlow.
10. Select the “Send Email” Action
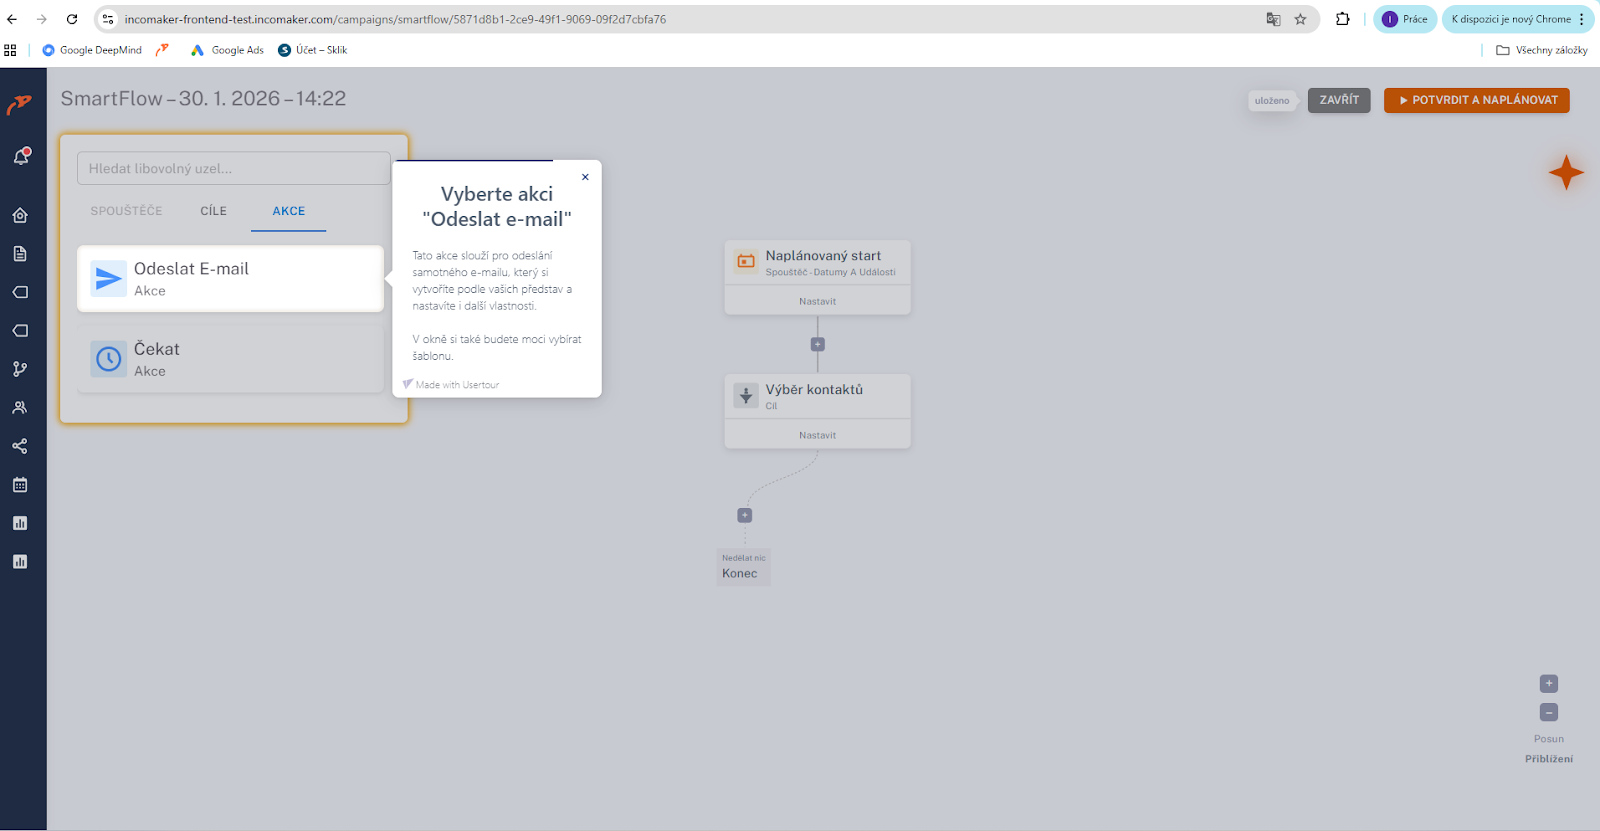
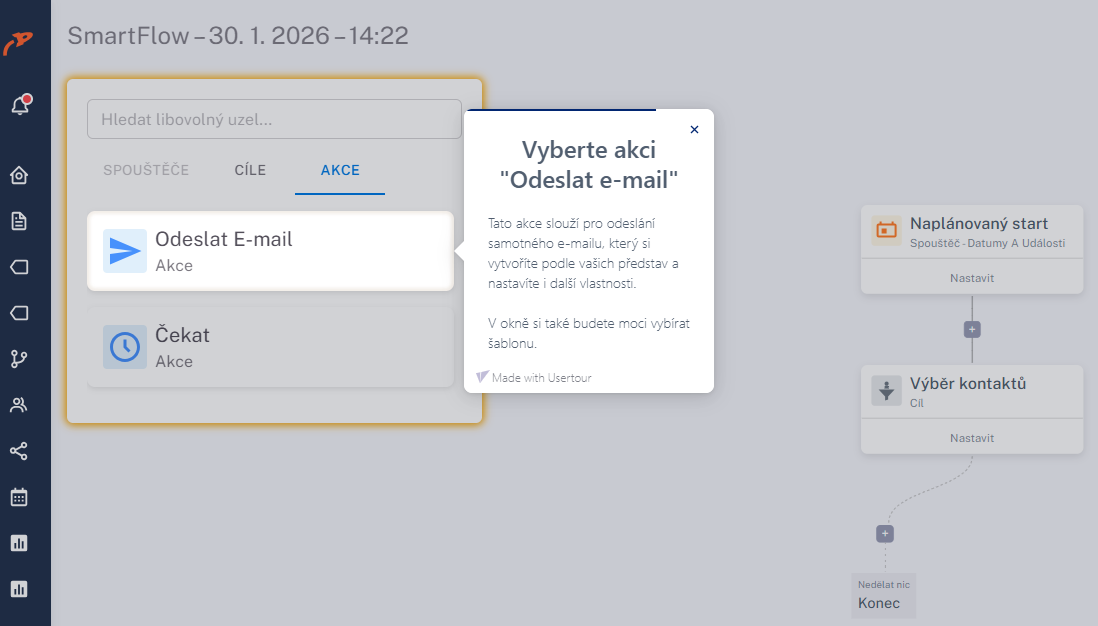
This action is used to send the actual email, which you create to your liking and for which you can set further properties.
✔️ in the window you can choose a template,
✔️ you can edit the email in the editor.
11. Email Settings
On the settings panel of the Send Email node, you access the selection and setup of the email that will be sent.
✔️ click the orange Edit button,
✔️ the standard Incomaker email editor opens,
✔️ after editing, click Confirm in the top right corner.
12. Choose a Template and Edit the Email
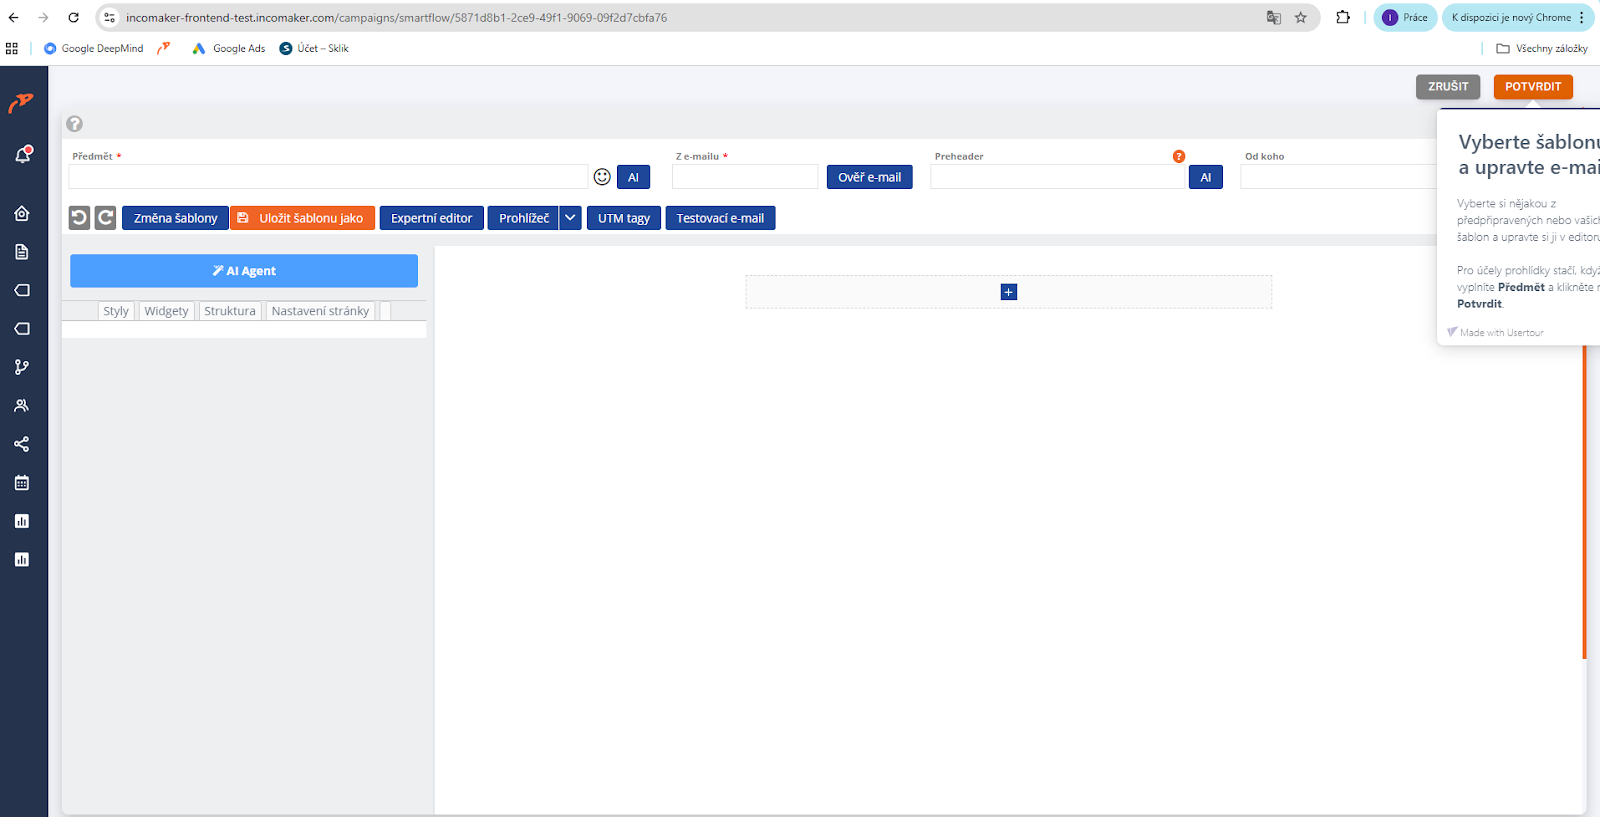
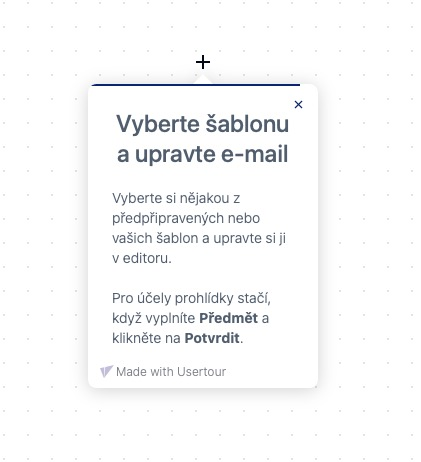
Choose one of the ready-made templates or your own and edit it in the editor.
✔️ for this walkthrough, just filling in the Subject is enough,
✔️ then click Confirm.
13. Final Confirmation
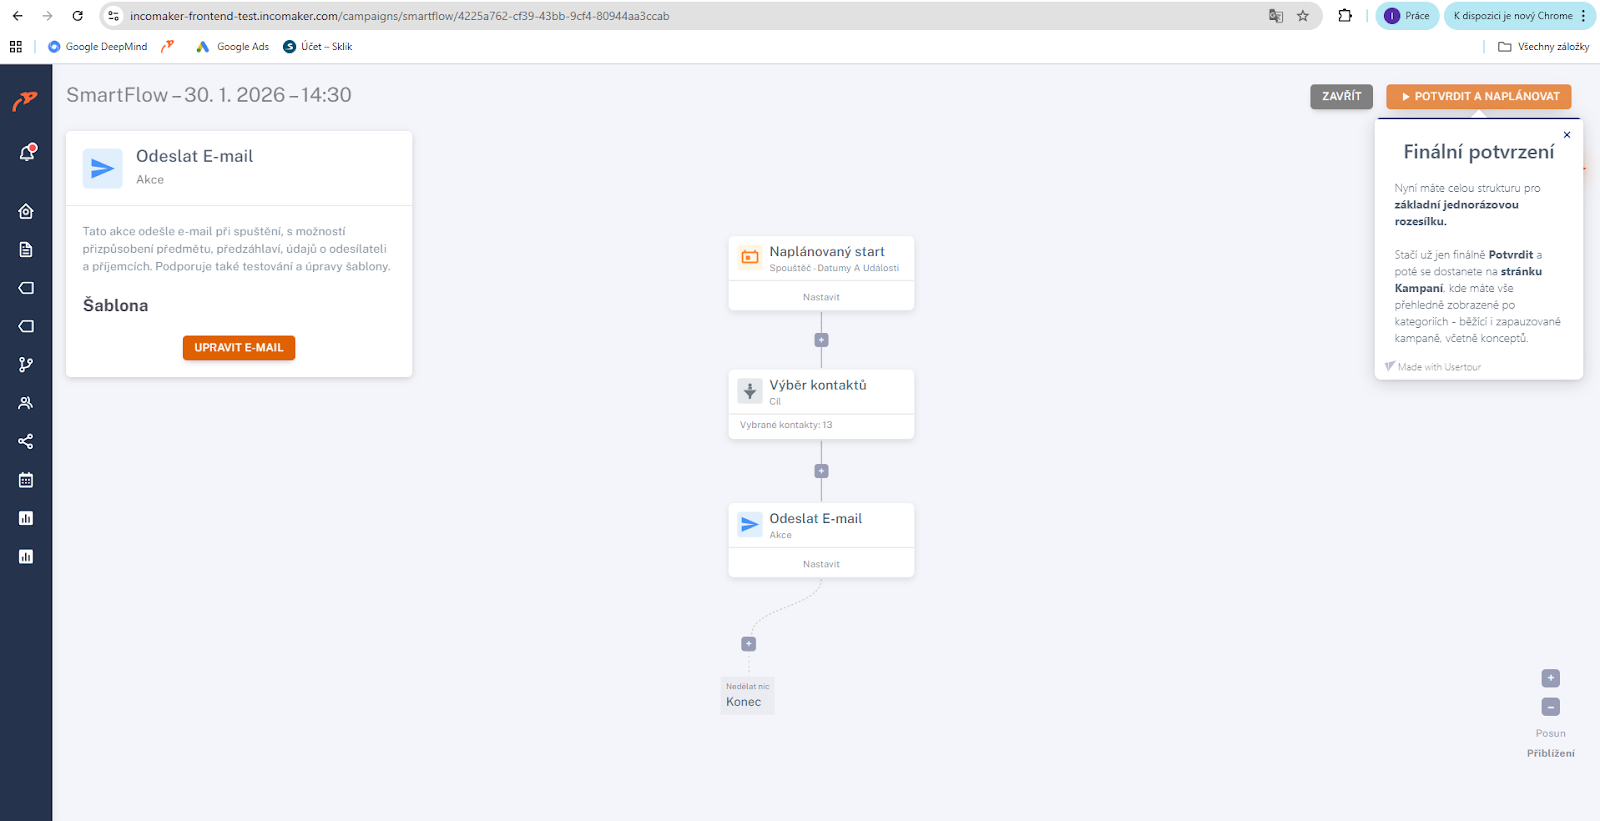
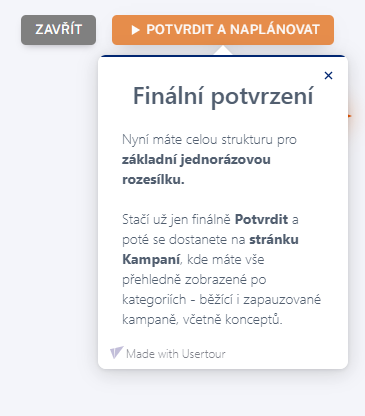
Now you have the entire structure for a basic one-time send.
✔️ click Confirm one last time,
✔️ you’ll then be taken to the campaigns page,
✔️ in the overview you’ll see campaigns organized by category — running and paused, including drafts.